

Mediocre Kitchen Madness: Thanksgiving Edition!
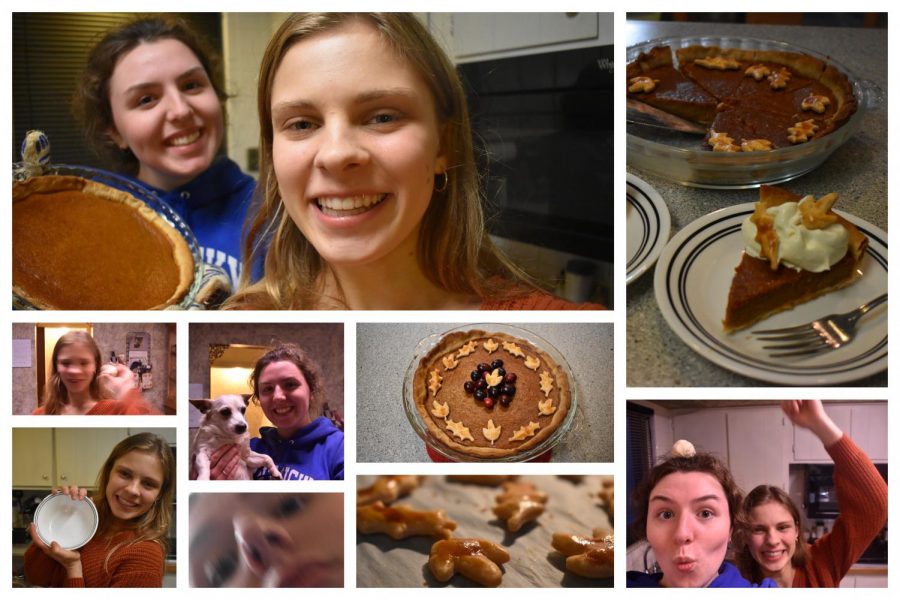
– Hello, this is Haley…
– And this is Maggie.
– …and welcome back to a special edition of Mediocre Kitchen Madness!
– Today’s we are bringing you a bonus November recipe inspired by a Thanksgiving favorite…PUMPKIN PIE!
– But not just any pumpkin pie, the first recipe that comes up when you Google pumpkin pie recipe, courtesy of Sally’s Baking Addiction!
– Not only is it the first recipe on Google, but the best recipe on Google!
First, you’ll need to gather the ingredients required for your pie.
- 2 store-bought pie crusts
- one 15oz can pumpkin puree
- 3 large eggs
- 1 ¼ cups brown sugar
- 1 tbsp cornstarch
- ½ tsp salt
- 1 ½ tsp ground cinnamon
- ½ tsp ground ginger
- ¼ tsp ground nutmeg
- ⅛ tsp ground cloves
- ⅛ tsp ground black pepper
- 1 cup heavy cream
- ¼ cup milk
- egg wash (1 large egg beaten with 1 tbsp milk)
– The recipe offers another recipe for a homemade pie crust, but we’re lazy and don’t have time for that.
– Store-bought tastes just as good, tbh.
– Oh, and it also said to make sugared cranberries to place on top of the pie, but that also took way too long so we just used raw cranberries as a decoration at the end.
– CAUTION: do not eat the raw cranberries.
– Totally not saying that from experience…
Preheat your oven to 375ºF and let it heat up while you begin assemblin’.
Take your pie crust out of the fridge/freezer and let it thaw until it reaches room temperature.
– We don’t recommend putting the crust in the microwave to thaw it…
– …just trust us on that one.
Once the pie crust is thawed, put it into a 9-inch pie pan, preferably glass, and press the crust down onto the pan to eliminate air bubbles. If desired, you may crimp the edges using your forefinger and thumb.
– We tried…
– …and it failed.
Once the oven is preheated, place your crust in the oven for 10 minutes to prebake it. While the crust is baking, put the pumpkin into a large mixing bowl.
– The pumpkin will not, and I repeat, will not, want to come out of the can.
– So shake it vigorously until it does.
– Or use a spatula.
– Your choice… but the shaking is a lot more fun!
Add the three eggs and brown sugar to the bowl.
Whisk together the pumpkin, eggs, and brown sugar until combined.
– Make sure to hold the whisk correctly in this step *cough* Maggie *cough*
– I just hold it with ~style~ thank you very much.
– Yeah…style…okay…
Add the cornstarch, salt, cinnamon, ginger, nutmeg, cloves, pepper, heavy cream, and milk.
– So pretty much everything else?
– Yeah, but writing it all out is more professional.
– And we’re professional?
– Sure, you could say that.
Now, pour the pumpkin mixture into the pre-baked crust. Only fill up the crust about ¾ of the way, or else there will be some spillage when baking.
– We surprisingly didn’t experience any spillage.
– Yay us!
Bake the pie for 50-60 minutes or until you think it’s done.
– We took ours out on the 55-minute mark and it was perfect…
– …but each pie varies.
While the pie is baking, you can start making the crust leaves to place on top of the pie.
– This is the best part!
Roll out another room temperature pie crust and use leaf cookie cutters to cut out leaf-shaped dough. Place your pieces on a parchment paper-lined baking sheet.
– We had way too much fun with these little cookie cutters.
– I’m not sure why we thought this was the best part, but it definitely was.
– Maybe it’s because we ate a ton of the raw dough… probably not healthy… but it was pretty good.
Mix one egg and 1 tbsp of milk to make the egg wash and brush over the dough.
Place in the oven at 350º for about 10 minutes after the pie is finished baking. Let the pie cool.
– We had them in longer but I have no idea how long.
– All I remember is that they were super puffy when we took them out, but then they shrunk after cooling.
Take the pie crust leaves out of the oven and let cool.
– Now the actual best part…
– …Decorating!
– And eating!!
Once the pie and leaves are cool, assemble the leaves on top of the pie in any design you want. If you have cranberries, you can put them on top as well.
– …for the ~aesthetic~
– Definitely not for eating.
– My taste buds will never be the same…
– At least it was cute.
Now, cut and enjoy your homemade pumpkin pie!
– Overall I’d give this a 10/10!
– Yeah, it turned out phenomenal!
– The best pumpkin pie I’ve ever had for sure.
– It was definitely because we made it, not because we got the recipe from an actual baker.
– But to get an 11/10 next time, we have to try the sugared cranberries!
– Yeah, the raw cranberries just didn’t cut it.
Thank you for reading this special Thanksgiving edition of Mediocre Kitchen Madness. If you try this recipe, email pictures to [email protected] or [email protected] to be potentially featured in the next edition!
Your donation will support the student journalists of Highlands High School. Your contribution will allow us to cover our annual website hosting costs.